Showing posts with label Sewing. Show all posts

Pattern Review: The Olivia Top / Dress

9.25.2013

I was asked recently to test a new top / dress pattern, THE OLIVIA TOP and DRESS, by Jess from Craftiness is Not Optional. I was really excited because everything Jess does is magic. Seriously.


Let me also pause and say I fiercely LOVE digital pdf patterns. I really hate buying store-bought patterns and only getting to cut out one size.  Then, it's over.  Also, I royally suck at re-folding that gauzy pattern paper and so I always think I will re-use the same pattern, but I don't.  But pdf patterns can be stored in my computer, take up no room, and can be printed and reprinted as many times as I want for as many sizes as I want.  Genius really.

Okay, now on to the pattern.


Once I got the pieces cut out (while watching an episode of Breaking Bad) it probably took me about 2 hours to make the dress AND I also added a lining since the bird fabric I used on the skirt was a bit too see-though.  So, even with an additional step it was still a quick sew.


I consider myself an intermediate+ sewist and I learned more than one MUCH BETTER way to do certain steps than I have ever known before.  Particularly a way of finishing the edges of bias tape that is pure genius.  Seriously, you have no idea how bad previous bias tape edges of mine have been on past projects.  Embarrassing.


The length of this dress was perfect. I find many dress patterns for little girls too short for my taste. Love that this hit perfectly at the bottom of the knee, but, of course, you can really shorten or lengthen it if you wanted to.


There were many different options that came with this one pattern.  Love that.


I did find the chest width of the finished garment to be big based on my measurements.  Next time I would make the 2T and adjust the length of the skirt.  But that is the case with any pattern, I find.  Sometimes it takes a bit of tweaking to your own child's particular body type.  Below is Jess' photo of her daughter wearing the dress and you'll notice it's wide under the arms.  That's about as wide as it turned out on Bianca as well.  I could pinch a good 1.5" on each side of extra fabric.  This can make it super comfy for little ones, I just prefer a more fitted fit.


I looove this pattern.  I will be making more dresses and tops from this cute pattern.

My Project Details:
Green fabric from JoAnn Fabrics
White bird fabric from IKEA
Black buttons from WalMart
Sewing Machine: Brother cs60001
Serger (Brother 1034D) used for finishing inside edges.


Click this link to buy


Pattern Review: The Skipper Top

8.12.2013


I was asked recently to test a new knit top pattern, THE SKIPPER TOP, by Abby from Sew Much Ado. I was really excited because...
1. Knits scare me
2. I hate the awful screen-printed tops out there for little girls.  I don't want my 6-year-old to be a 100% Drama Queen or a Little Diva. Sheesh!
3. I saw an awesome upcycyling opportunity with this easy pattern (more on that later in the post).

I downloaded the pdf of the pattern and let me start by telling you what was awesome about it BEFORE I even started sewing.

1. The pattern is professionally made and graded. I have bought hand drawn patterns from online sewists before and I love the straighter lines, smoother curves and easier read of professionally made patterns.
2. There is a size gauge square. Awesome. printers are tricky and sometimes printers print items whatever size they want. With this pattern there is no guessing.
3. The pattern tells you exactly which pages you need to print for the shirt options/size you chose. Love.
4. There are match-up arrows for each page so you know, for sure, you are taping the printed pages together properly. You have no idea how much my pregnant mind needed this!
5. There are instructions for serger and non-serger sewists! Bonus!

Okay, now to the pattern. There are TONS options. Different neckline, length, sleeve length and styles are all included. Awesome. The directions were clear and easy to understand and Abby gives you LOTS of hints to having a successful KNIT sewing experience. If you're scared, like I was, this pattern is a great place to start.


Here's what I sewed up for my kids...

For Ella (8 years old) I made this cute tee from a fabric she chose. It was some sort of poly/cotton blend so it was a great place to start since it's not WAY stretchy. I loved that the pattern pieces had included guides on which way to lay the fabric ("stretchiest side this direction") so I knew exactly how to cut.  After an evening of sewing I had this...


And the next day I had a VERY happy 8 year old.


Next came a try at UPCYCLING.  I had a shirt that I saved from before I lost weight that was a Womens 26/28 tee.

When I laid the pattern out I folded the shirt straight down the middle/front to cut the front pattern piece along the fold. Then did the same for the back.  With some easy sewing (it was much more quick after the first go) I had a great little 3T top for Bianca, my almost 3 year old.  Sorry, I don't have pics of her modeling it yet, but they're coming soon!
 
And I am now a full-fledged addict, people.  I went to Joann Fabrics today and scored four more knits from their clearance section to make into the Skipper Top.  I love how easy and customizable it is.  And the little pocket? Adorable!

Hop on over to SEW MUCH ADO and snag this pattern. You won't be sorry and you may just become and addict like me!


Happy Sewing!


Friday Night Glamour

8.02.2013

It's after 11 pm on a Friday night and this glamorous girl is at the kitchen table, mending jeans for the family. I always have a spool of thread and bobbin in my sewing kit that is a match of that distinct yellow-tan color of classic denim stitching.

First was cropping a pair of my maternity jeans into capri-length because it's freaking HOT here in PA.


Next up was the hand-me-down jeans that went from my oldest, Ella, to her little sister, Evangeline, and came with a sizable hole in one knee. Evangeline asked if we could make the patch cute. Of course! She also wanted them made into capri-length.


I used the cut off bottom piece to make a heart to cover the hole in the knee. I anchored it with two rows of rough stitching for a funky look. I think she'll be happy tomorrow morning.

It's a glamorous life I lead.


Little Ninja Felt Ornaments

12.02.2012


Have you seen the first issue of MAKE IT YOURSELF magazine? Oh, Sweet Judy! It is amazing! 

I picked one up last week and browsed through it, immediately landing on the adorable Ninja Lip Balm Holder designed by Monica Solorio-Snow of The Happy Zombie fame.

I had been thinking of a handmade gift I could make for my friend Maude who has five kids, 4 boys and a baby girl. This was perfect. But not for chapstick...for an ornament!

I scanned the free pattern found in the magazine and re-sized it down to make it the correct size. I added a belt emblem to add an embroidered initial to each ornament as well. I made five of these one evening while watching a movie and they turned out SO CUTE!

Below are the instructions and the altered pattern I designed.  Enjoy!


1 (8x5x11") sheet felt, black
1 (8.5x11") sheet felt, belt color of choice
1 (8x5x11") sheet felt, flesh color
black embroifery floss & needle
scissors
6 inches ribbon
craft or fabric glue
ornament pattern (CLICK HERE to download)


1. Cut out all felt pieces 
 
2. Use black embroidery floss to make eyes on face using a French knot technique (I was afraid, very afraid.  I used the French Knot tutorial found HERE and came away mostly unscathed and with successful french knots). Cover back of face piece with fabric/craft glue and adhere to Ninja body. 
 
3. Cover back of belt piece with fabric/craft glue and adhere to front Ninja body. Repeat on back side of Ninja body. 
 
4. Use black embroidery floss to embroider initial onto the small white circle of felt that is the belt emblem. 
 
 5. Cover back of emblem piece with fabric/craft glue and adhere to Ninja front on top of the belt. 
 
6. Cut 6“ piece of ribbon, fold in half and tie a knot in loose ends, creating a loop. Use fabric/craft glue to adhere knot to back side of front Ninja piece at the top center of the head. 
 
7. Sandwich Ninja front and back pieces together. Use black embroidery thread to stitch front and back pieces together, making sure to stitch very well at the top of the head to secure ribbon. 


Homemade Foofa Costume

10.31.2012

This year my youngest (having just turned two years old) wanted to be Foofa from Yo Gabba Gabba!
I used Simplicity Pattern #2788 and lots of pink fleece.  The pattern sewed up easily enough, although it was tough to sew through so many layers of fleece since there is stuffing between two fleece layers.
 

When I put it on she HATED it.  But, you know, she's two.  Once we went to the first house and she realized what this Halloween business was all about she went from door to door proudly saying, "I Foofa! Gabba Gabba!"


I bought the classic. plactic jack-o-latern bucket (but in hot pink) and glued the remaining pink fleece around it, adding the Foofa scallops at the top.  It was so easy and it made a cute addition.

 Overall it was a success! 


Tips for Buying Fabric

3.14.2012

Pin It

I got an email this morning from a reader asking about where I buy fabric. Locally or online? I thought I would answer it here in case others find it helpful!

Local Fabric Shopping
If you are looking for fabric from a certain designer (like Amy Butler) go to their website and search for local retailers. On the Amy Butler site there is a tab called "Where to Buy" and then leads you to online AND local retailers near you. Generally, if you go to an actual shop you'll pay the same as you would per yard as online, but there's no shipping.

Online Fabric Shopping
I predominantly shop online, especially if I am looking for a specific designer fabric. Once I know a certain line of fabric I want I check eBay and Etsy. They seem to have better prices than bigger online stores.


Saving Money
1. The thing to remember about Modern quilting is that there is a lot of negative space. I splurge on designer fabrics that I love and then purchase really inexpensive white fabric for the negative space. It seems to make the financial blow a bit easier!

2. Plan ahead. In getting ready to make the tutorial for my Gracie Quilt I knew I needed under 20 strips of patterned fabric so I was able to buy a half a jelly roll on Etsy for cheap. Find a pattern, commit to making it and THEN purchase the designer fabric amount you need.

SHOP RECOMMENDATION: The Intrepid Thread. I recently found and fell in love with this Etsy shop because she sells modern, designer fabrics and sells them in bundles where you can choose your own bundles of fabric in the amount you need. Holla!

3. Fill with non-designer fabric. Consider purchasing a few fat quarters of bold statement fabric from a designer and then taking it to your local fabric shop and matching smaller scale prints and solids.  Recently I purchased fabric from the Modern Meadow line by Joel Dewberry for this quilt. I got a bundle of a few choice Fat Quarters online and then when it arrived I took it to my local JoAnn Fabrics and found filler fabrics that matched perfectly and were way less expensive (especially if you rock those coupons!).

in the picture below the top row is the designer fabric.   The bottom row is from Joann Fabrics and was less than $5/yard.  Mix the two sets of fabrics together for a less expensive quilt!

Hope that helps...now go forth and shop!


Tutorial: Lace Lined Love Shirts

2.15.2012


  For Valentine's Day this year I made lacy shirts for my girls to wear to school. It was very easy (in fact I sewed them both on Valentine's Day morning before school) and inexpensive. My girls LOVED them!


- One pink shirt
- 2-3 yards lace trim
- Sewing machine with white thread
- Marking pen


1. Use your marking pencil to draw a heart on the shirt front. Make sure it's not too wide since the lace will flow outward from the line.
Note: You may also print and then trace a heart pattern from clip art.
2. Fold under end of lace edging and place it on bottom tip of heart.
3. Sew with the edge of the lace just covering the line you drew - with the lace pointing outwards.
4. When you come to the bottom tip of the heart, turn under your edge and sew to the starting point.


5. You can stop there and have an outlined heart OR continue following the heart shape towards the middle of the heart until your tail of lace meets in the middle and tuck under end to finish.

Hope you have fun making these ALL year round and not just in February!

What i've been working on : Hot Drink Cozy

12.02.2011

Ella has a big Book Fair coming up next week and, as a member of the PTO, I am a volunteer.  I'll be manning cash registers, donating bowls, helping kids choose books and loving every minute of it.  There is a basket raffle on the family night and each class is in charge of supplying small gift items on a theme for a basket to be raffled.  Ella's class was assigned COFFEE/TEA.  Ummmm...I was stumped.  I am neither a coffee nor a tea drinker! But I ran to the local gas station and bought an empty coffee cup (yeah, they charged my $.60 for it...lame).
 
I whipped up a pattern and after one failed attempt I made this cute Hot Drink Cozy for the raffle basket. It fits all coffee cups and is reversible.  Oh, and no buttons on the cozy...those buttons drive me crazy.


 This fabric is from an out of print fabric line from Cosmo Cricket, but you can buy more current lines by them here. Their fabrics are adorable!
 
It's so cute I am going to make one for myself and start overdosing on Starbucks Hot Chocolate this Winter (which I hear is amozzing).  I want to make one more version to work out the final kinks and then I will throw them in my shop for a quick stocking gift!

homemade costumes past

10.12.2011

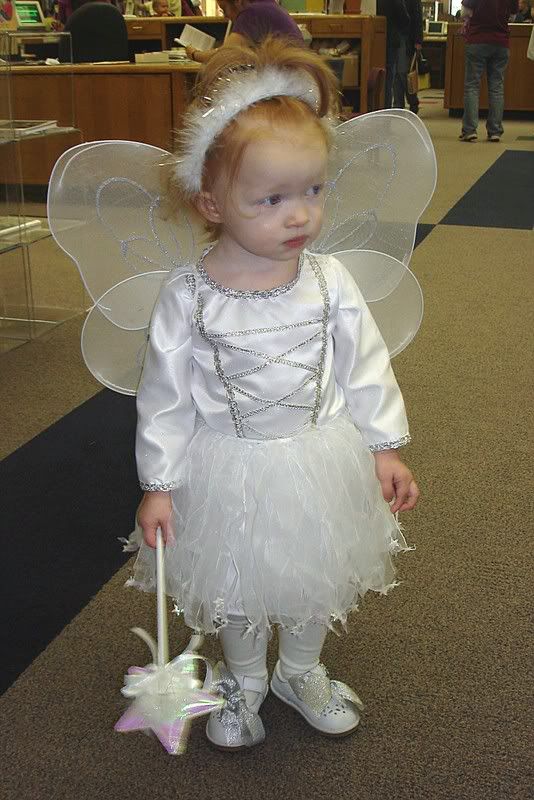
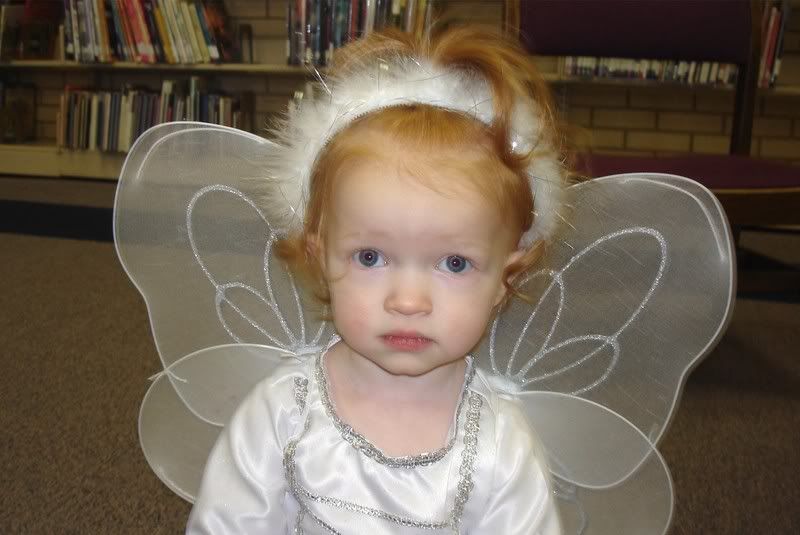
{ 2006 }
I just had one child. Ella wanted to be a Fairy Princess. I made everything but the wand.


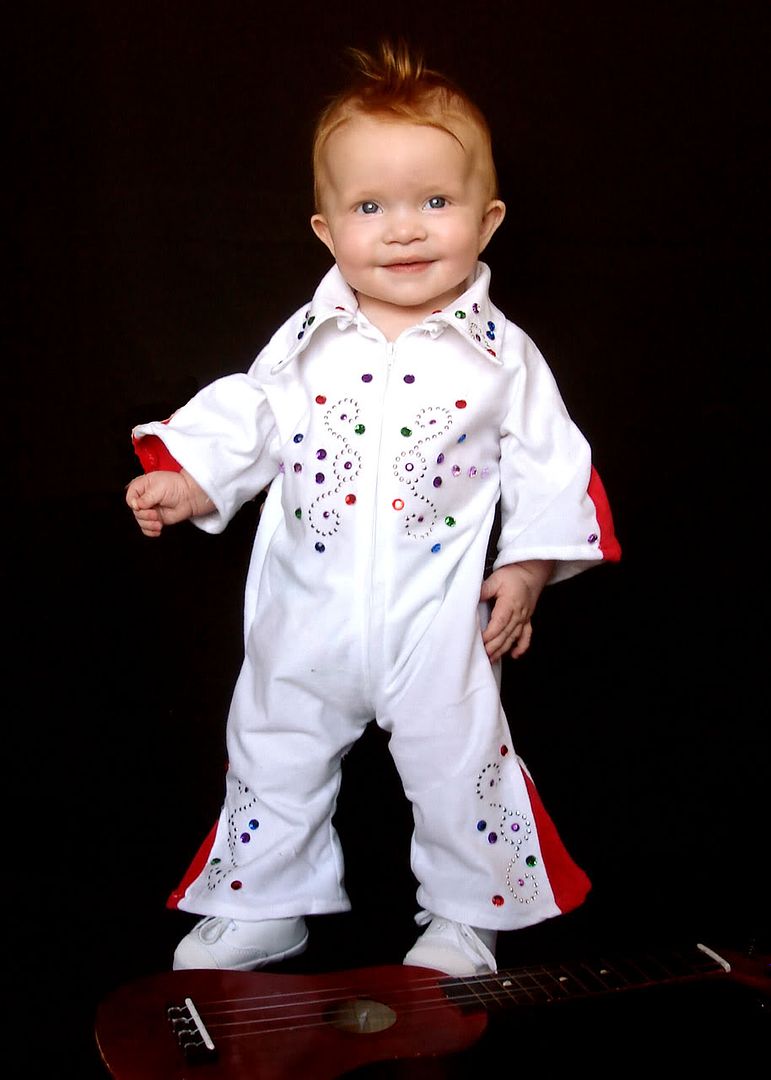
{ 2007 }
Ella's was store bought. Eva was....drumroll please....Eva Las Vegas
C'mon....how CUTE is this?  100% homemade.


{ 2008 }
Ella's was store bought.  
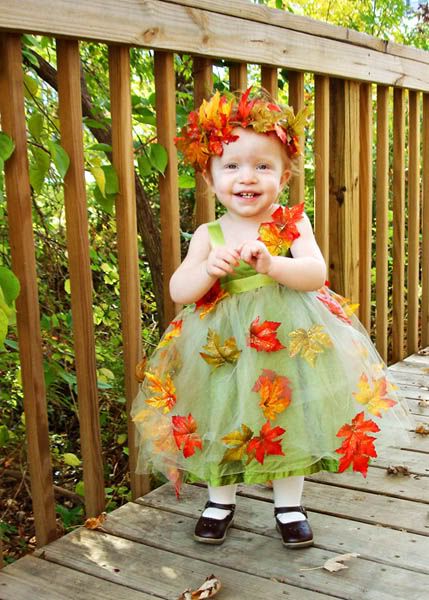
But Evangeline's was a re-fashion from a flower girl dress 
(which I made) into a Woodland Sprite.


{ 2009 }
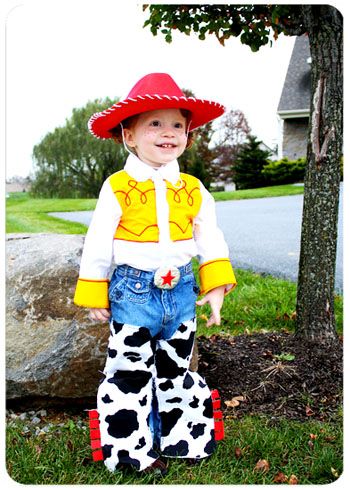
If you can't guess by now, I save myself the head-ache and usually just home make ONE Halloween costume each year.  Ella's was a eBay-bought cheerleader and Eva's was a home-made Jessie the Yodeling Cowgirl.


{ 2010 }
Last year I gave birth to Bianca on Oct 14th via C-section.
Ella and Evangeline both wore store-bought costumes from Costco.
A much-needed break!